

What home insemination means?
Home insemination usually means placing semen into the vagina, close to the cervix, so sperm can travel on their own through the cervix and uterus. It is an at-home attempt to create the same starting point that intercourse would create, but without sex.
In search results you will see multiple phrases for the same idea: at-home insemination, DIY insemination, manual insemination, syringe insemination, or artificial insemination at home. Some people also search for sperm in a cup or cup and syringe method as a plain description of collection and transfer.
- Medical term closest to what people do at home: intracervical or intravaginal insemination.
- Core goal: sperm present during the fertile window, with gentle handling and clean supplies.
- Core limitation: no clinical diagnosis, no lab processing, and no placement into the uterus.
What it is not: why DIY IUI and DIY sperm washing are a mismatch?
Many searches ask how to do IUI at home or DIY IUI. IUI is intrauterine insemination, which is a clinic procedure that places prepared sperm into the uterus using medical equipment and lab processing.
That difference matters. IUI changes where sperm are placed and how the sample is prepared, and it is done under clinical protocols. If your goal is IUI, it is safer to treat it as a clinic decision rather than an at-home project.
Another common search is how to wash sperm at home. Sperm washing is a laboratory process used for specific clinic procedures and safety protocols. It is not something that can be reliably replicated at home.
If you are unsure which method you actually want, a plain-language overview of IUI can help clarify the difference. Mayo Clinic: Intrauterine insemination IUI
The biology that actually drives your odds
Home insemination succeeds when sperm are present in the reproductive tract during the fertile window. The egg is fertilizable for a relatively short time after ovulation, while sperm can sometimes survive for several days in supportive cervical mucus.
That is why timing usually matters more than small technique tweaks. If you want a clear, mainstream explanation of the fertile window, ACOG’s overview is a good starting point. ACOG: Timing the fertile window
- Most avoidable misses are timing-related, not tool-related.
- Consistency across cycles helps you learn what is working and what is not.
- If cycles are irregular, confirming ovulation can matter more than repeating attempts.
Who home insemination can fit and when it may not?
Home insemination is often used when pregnancy is being attempted without intercourse, including many LGBTQ+ families, solo parents by choice, and people who want a lower-intervention starting point before clinic treatment.
Often a reasonable fit
- Regular cycles with a trackable fertile window
- No known tubal disease and no major red flags from prior medical history
- Clear plan for screening and consent, especially with a known donor
Often worth a clinic conversation sooner
- Very irregular cycles or repeated unclear ovulation testing
- History suggesting tubal disease, severe endometriosis, or significant pelvic infections
- Known severe sperm factor or repeated failed attempts with well-timed cycles
- Recurrent pregnancy loss
Realistic success rates
People often search for a single number such as syringe pregnancy success. The reality is that there is no single rate that applies to everyone, and research specifically measuring at-home insemination outcomes is limited because methods and documentation vary widely.
What you can do is keep expectations grounded and focus on the variables that reliably matter in conception attempts: age, ovulation timing, semen quality, and whether there are underlying fertility factors. ASRM summarizes practical factors that influence natural fertility. ASRM: Optimizing natural fertility
- Timing within the fertile window is the biggest controllable factor.
- More complexity does not automatically mean better odds.
- A reassessment plan prevents months of repeated uncertainty.
A clean, practical process overview
People search for home insemination instructions because they want clarity. What tends to help most is a consistent routine that keeps handling gentle and keeps timing clear. The overview below is general education and not medical instruction.
What to prioritize
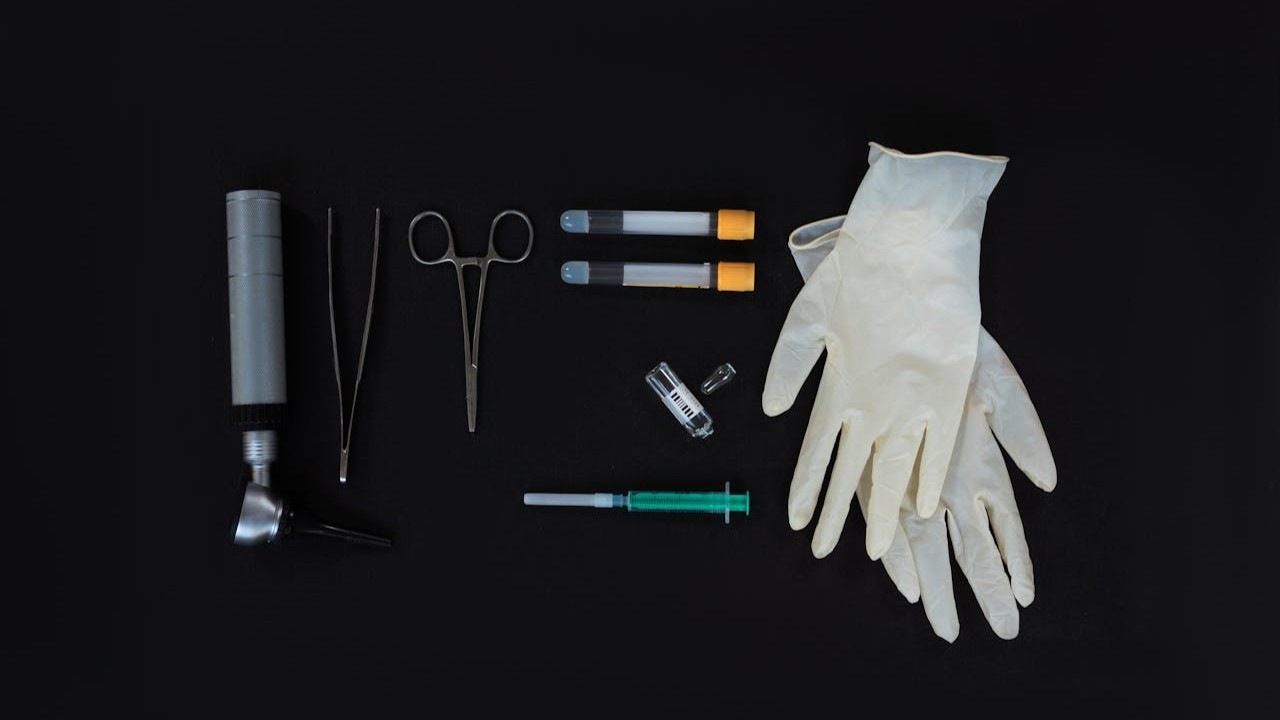
- Clean setup and single-use supplies
- Minimal delay between collection and insemination
- Stable temperature and gentle handling
- No force, no pain, and no attempts to pass through the cervix
Common structure
- Plan timing around the fertile window.
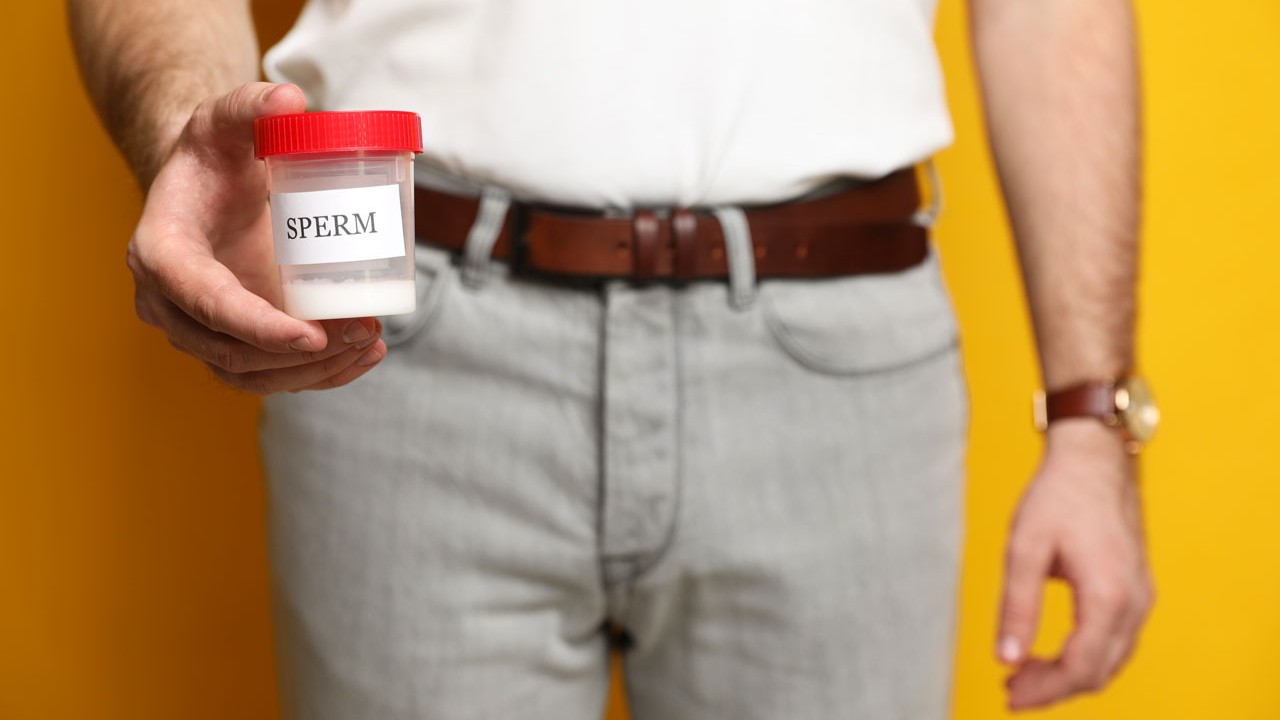
- Collect semen into a clean container.
- Allow a short time at room temperature if needed for normal liquefaction.
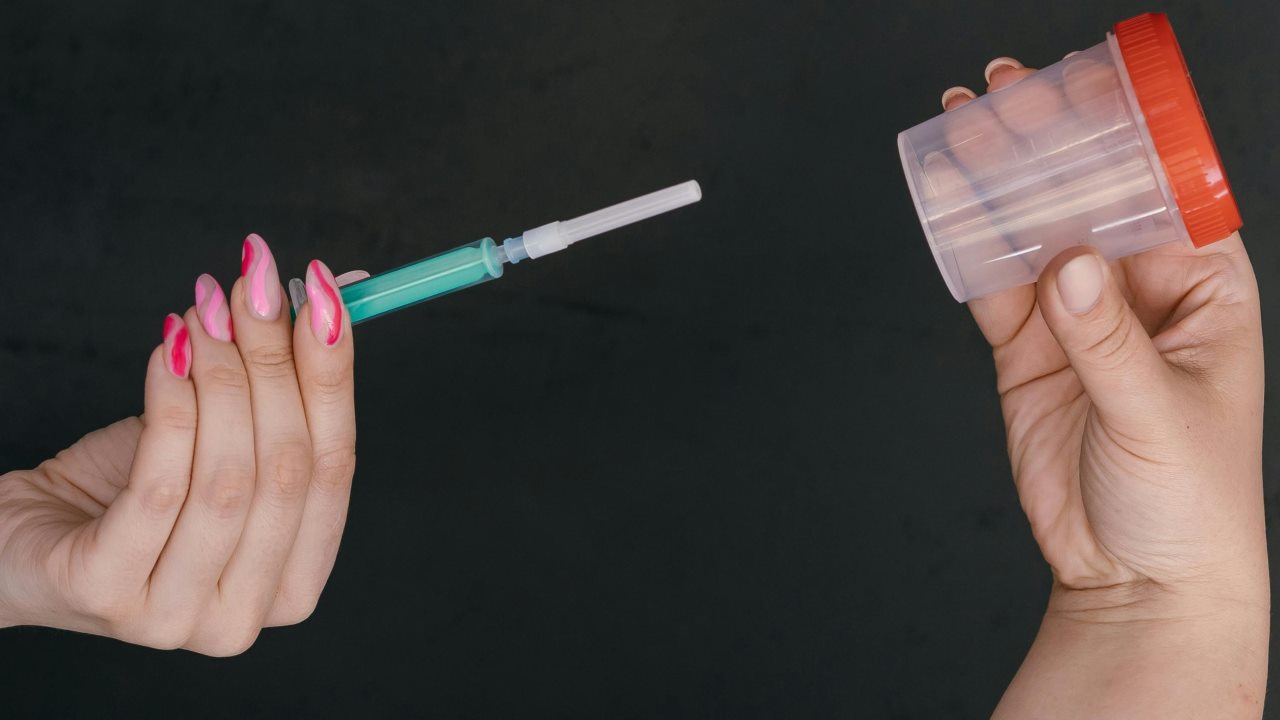
- Transfer gently into a needle-free syringe or a soft catheter designed for vaginal placement.
- Place the semen gently into the vagina, then return to normal activity when comfortable.
Timing in real life
Ovulation predictor kits detect an LH surge. Ovulation often follows, but the gap can vary by person and by cycle. A practical approach is to cover the fertile window instead of betting everything on one exact hour.
What many people do
- Use ovulation tests consistently to learn your pattern.
- Plan an attempt close to a clear positive test result.
- Consider one additional attempt within the next day if timing uncertainty is high and logistics allow.
When timing becomes the bottleneck
If ovulation tests are consistently confusing, cycles vary widely, or you rarely see a clear surge, confirming ovulation with a clinician can be more effective than repeating guesses.
Fresh donor sperm: how long it lasts in a cup and what matters
Many searches focus on fresh donor sperm and questions like how long can sperm survive in a specimen cup or how long does fresh sperm last in a cup. The most accurate answer is that survival is not a fixed number. It depends on time, temperature, and whether the sample dries out or is exposed to harsh conditions.
A useful reference point comes from routine lab guidance for semen testing. Many clinics and labs instruct people who collect at home to deliver the sample promptly, often within about an hour, and to avoid temperature extremes. While that guidance is written for lab accuracy rather than at-home conception, it reflects the same underlying principle: motility declines with time and temperature stress. Cleveland Clinic: Semen analysis and collection guidance
Practical takeaways
- Plan for minimal delay between collection and insemination.
- Keep the sample at stable room temperature.
- Avoid heating, chilling, or home freezing experiments.
- Avoid drying on surfaces and avoid unnecessary air exposure.
- Handle gently. Stirring or shaking is rarely helpful.
Can sperm survive in a syringe?
This question is common because people worry the syringe itself will harm sperm. In practice, the bigger risks are long delays, overheating, and drying. Short contact with a clean, appropriate syringe is usually less important than the overall handling conditions.
- Transfer gently and avoid repeatedly drawing up and expelling.
- Minimize time between transfer and insemination.
- If pain or irritation occurs, prioritize comfort and safety and simplify the approach.
How much sperm is needed?
People often want a specific volume number, but volume alone is not the deciding factor. What matters more is how many motile sperm are present and whether timing matches the fertile window.
If you are using frozen donor sperm, vial type and motile count after thaw can matter. Match the product and handling instructions to the method you are actually using rather than assuming every vial is equivalent.
What tends to improve results?
Most helpful improvements are boring and repeatable. They are also the same improvements that help conception attempts in general.
- Track ovulation consistently so attempts cover the fertile window.
- Reduce avoidable delays with fresh samples.
- Avoid temperature extremes and drying.
- Keep the routine consistent across cycles.
- Set a reassessment point and follow it.
Common pitfalls
Many people assume technique is the missing piece, when timing is the real issue. Another common pattern is making the process more complicated each cycle, which increases stress and makes it harder to learn what helps.
- Inseminating outside the fertile window
- Long delays after collection
- Exposure to heat, cold, or direct sunlight
- Reusing supplies that are difficult to clean reliably
- Trying to turn home insemination into an at-home version of IUI
Hygiene, STI screening, and safety
At-home insemination is not sterile surgery, but hygiene is not optional. Use single-use supplies, wash hands, and set up a clean surface. Avoid reusing items that are hard to clean reliably.
Known donor basics
- Talk openly about recent STI testing and agree on a retesting schedule if attempts continue.
- Discuss boundaries and expectations before the first attempt, not after a pregnancy test.
- Consent should be clear and ongoing for everyone involved.
Seek medical care promptly for fever, severe pelvic pain, heavy bleeding, fainting, or foul-smelling discharge.
Costs and practical planning in the U.S.
At-home costs usually come from ovulation tests, pregnancy tests, single-use supplies, and any screening you add. Costs can rise significantly with frozen donor sperm because shipping and storage conditions are specialized and time-sensitive.
A planning mindset that prevents burnout
- Decide how many well-timed cycles you will try before reassessing.
- Track timing, sample handling time, and ovulation test results.
- Define what would trigger a clinic evaluation so you do not keep guessing.
Legal and regulatory context in the United States
Legal parentage and donor arrangements in the U.S. are largely governed by state law, and rules can differ meaningfully from one state to another. This matters most when a known donor is involved, when there is a co-parenting plan, or when expectations extend beyond two adults.
Using sperm from a regulated sperm bank is typically more standardized. Donor screening and eligibility requirements are tied to federal rules for human cells and tissue products. The FDA guidance is a clear place to understand what regulated programs are required to do and why documentation tends to be more structured in that setting. FDA: Donor eligibility guidance for HCT/Ps
Known-donor arrangements outside a clinic may not automatically receive the same structure. Depending on the state, legal clarity may involve written agreements, parentage steps, and sometimes a court process. This is not legal advice, but it is often reasonable to consult a family-law attorney in your state who has experience with assisted reproduction and parentage before conception. International rules may differ substantially, so do not assume U.S. norms transfer to other countries.
When medical advice is a good next step?
You do not need to wait until you want IVF to ask for help. A clinician can confirm ovulation, review cycle patterns, and recommend basic testing when that would save time.
Common U.S. benchmarks for when to consider an infertility evaluation are summarized by the CDC. CDC: Infertility FAQs
- Under 35: consider evaluation after about 12 months of well-timed attempts.
- 35 and older: consider evaluation after about 6 months of well-timed attempts.
- Consider earlier evaluation with very irregular cycles, significant pelvic pain, known tubal issues, or recurrent pregnancy loss.
Keep reading

Conclusion
Home insemination can be a reasonable path in the U.S. when it is well-timed, handled gently, and approached with realistic expectations. Most of the advantage comes from covering the fertile window and avoiding avoidable handling and hygiene mistakes.